
Hanging & Installing Curtains
Turn correct measurements into a polished installation with thoughtful rod placement, compatible hardware, secure supports, and enough room for stack-back.
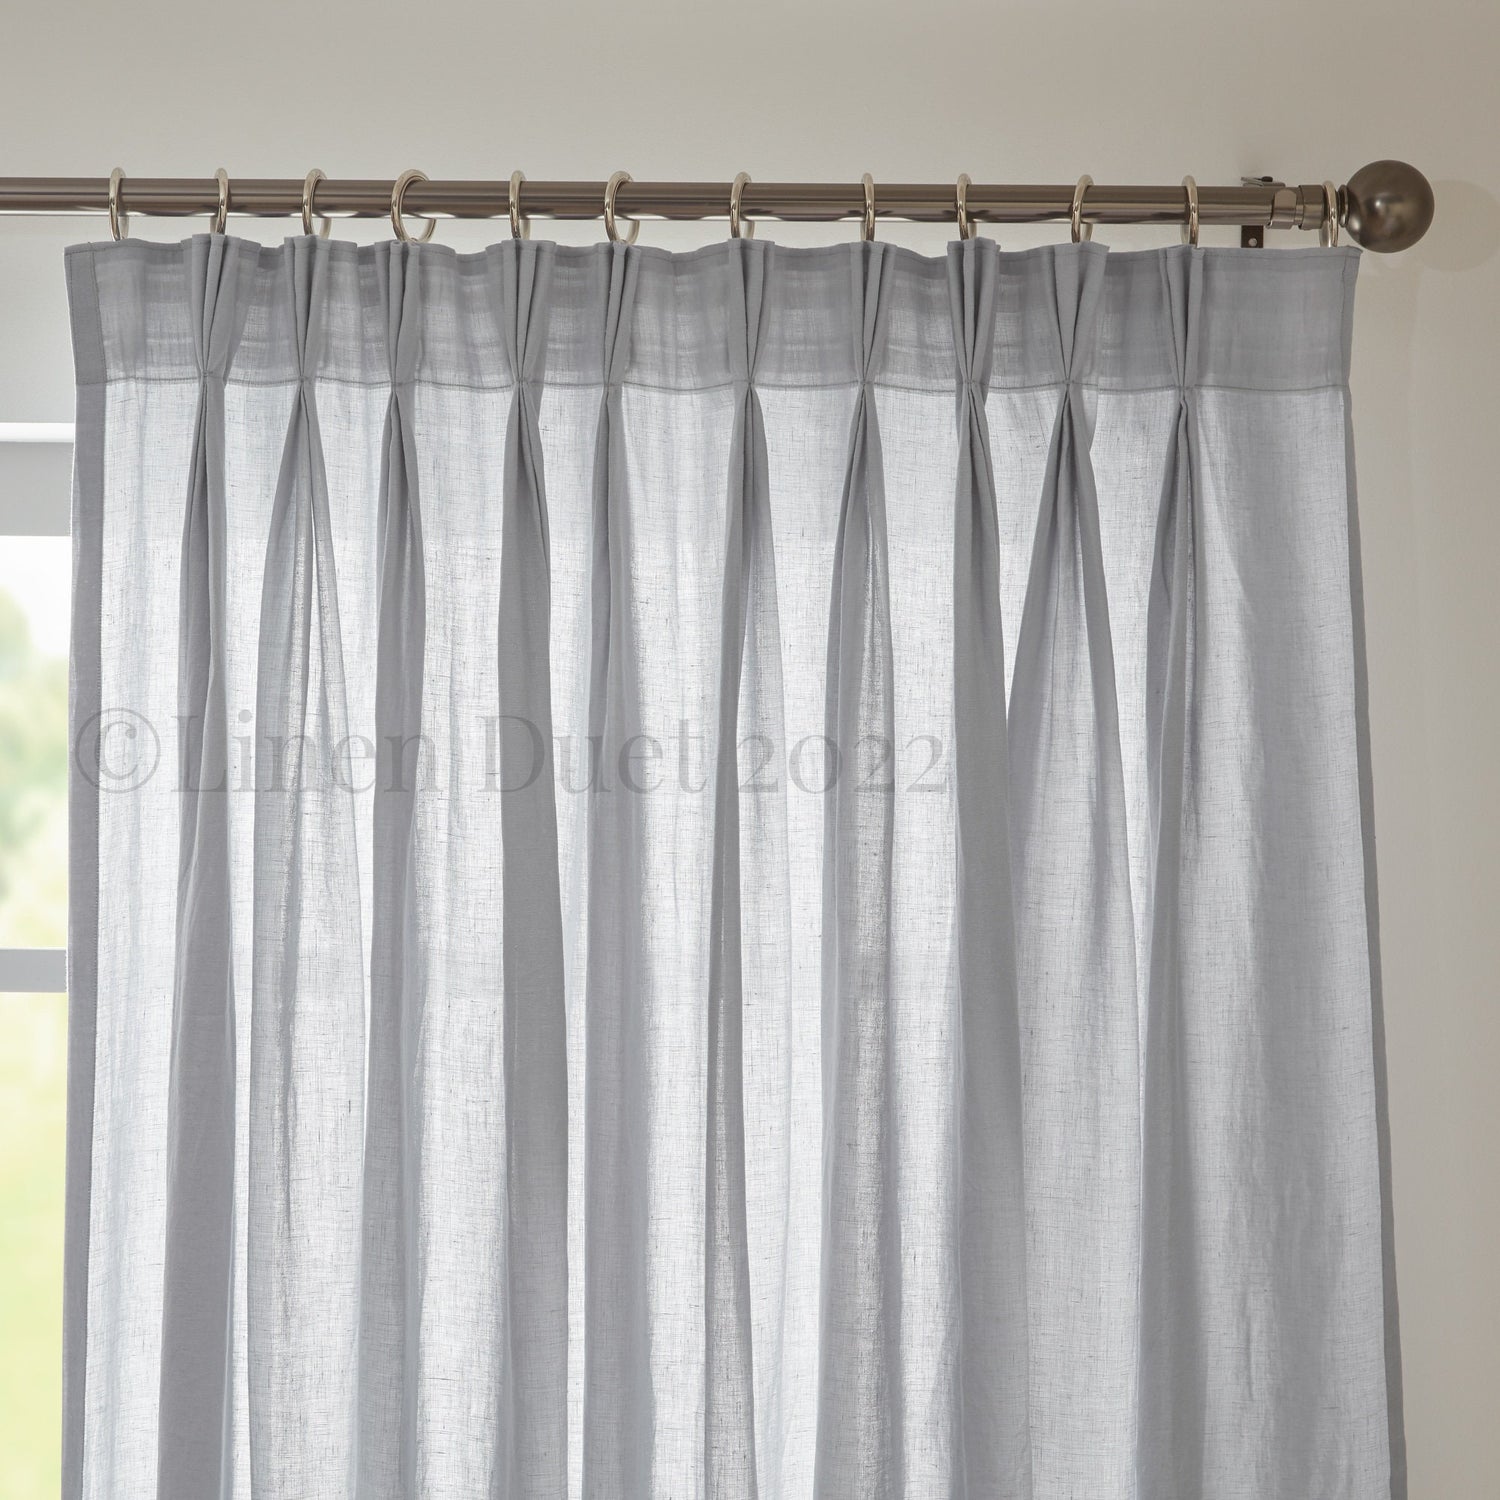
From measurements to a finished installation
Measuring defines the required dimensions. Installation turns that plan into secure, level hardware and curtains that clear the floor, move smoothly, and stack where intended.
High, wide & intentional
Set the rod or track position from the room’s architecture, finished curtain length, desired stack-back, and nearby obstacles—not from the trim alone.
Heading + hardware
Rod diameter, rings, hooks, tape, carriers, brackets, and finials must work as one system.
Wall, ceiling & load
Use fasteners appropriate to the mounting material and the total weight. Long spans or heavy lined curtains may need additional supports.
How to hang curtains
Always follow the hardware maker’s instructions and use a qualified installer when the span, height, mounting surface, or load is uncertain.
Confirm every component
Lay out the rod or track, brackets, center supports, finials or end stops, rings or carriers, hooks, anchors, and tools. Count attachment points before lifting the curtain.
Mark height and outside width
Transfer the approved measurements to the wall or ceiling. Check trim, crown molding, handles, vents, and the space needed for the curtain stack.
Find structure and choose fasteners
Identify the mounting material and solid support. The supplied anchor is not automatically right for every wall or ceiling. When in doubt, consult an installer.
Mount level hardware
Install brackets or track according to the manufacturer’s spacing and load requirements. Verify level and projection before the full weight is added.
Attach curtains consistently
Space hooks, rings, or carriers evenly and at the correct height. For ripple fold, use only compatible tape and carriers so the wave pattern repeats.
Dress and test the treatment
Open and close the curtain slowly, check the center meeting point and returns, confirm floor clearance, and arrange folds. Recheck fasteners after the treatment settles.
Rods, rings, hooks & tracks
| Hardware | Works with | Plan for |
|---|---|---|
| Decorative rod | Grommet, rod pocket, tabs, ties, rings | Diameter, finish, projection, supports, and finial clearance |
| Rings | Pinch pleat, pencil pleat, some back-tab tapes | Inside diameter, eye position, quantity, and travel past supports |
| Drapery hooks | Pleated headings and compatible heading tapes | Hook type, insertion depth, even height, and safe handling |
| Ripple-fold track | Ripple-fold heading only | Carrier spacing, fullness system, draw direction, end stops, and stack |
| Brackets | Rods and wall-mounted tracks | Projection, center supports, wall material, and total load |
| Finials | Decorative rods | Space beside the rod and visual scale in the room |
Rod height and extension
Mounting higher can strengthen the room’s vertical line. Extending wider allows the curtain to stack beyond the glass. The exact position should reconcile the finished curtain length, ceiling and trim, wall space, brackets, heading, and desired light control.
Safety: keep fabric clear of hot radiators, heaters, flames, and operating mechanisms. Use current child-safe window-covering practices and secure any permitted cords as required by the hardware manufacturer and applicable rules.
Curtain installation questions
How high should I hang a curtain rod?
How far should a curtain rod extend past the window?
Do I need a center bracket?
Still planning the dimensions?
Return to the measuring guide to confirm width, drop, stack-back, overlap, returns, and the exact attachment point before mounting hardware.